How to Shape Nails
- Step by Step Instructions
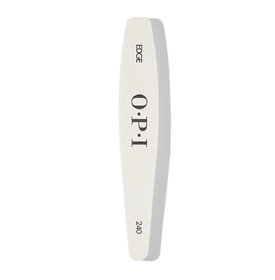
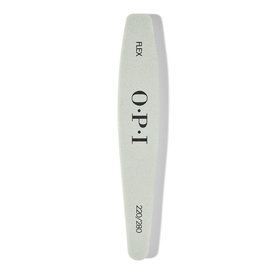
- Products & Tools Used

Understanding how to properly shape nails is an important part of any manicure service. Not only do you have to consider the client’s personal preference, but you must consider the nail’s strength, and structure.
Square nails are flat on top with straight, sharp corners. This is a popular shape for those with short nails, or long, narrow nail beds.
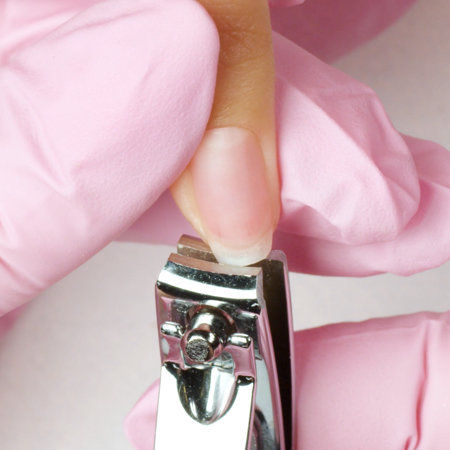
Trim nails to cut down on filing time. Start by cutting the sides and then the center if needed.
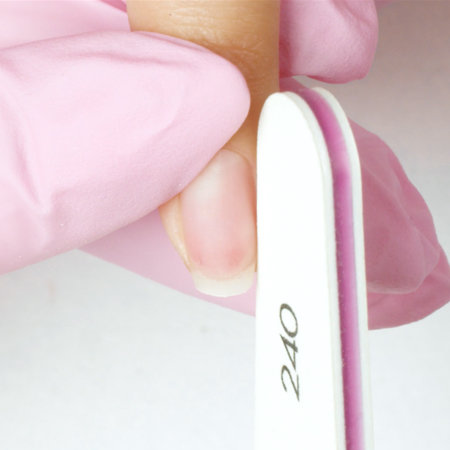
To get this look, file straight across the free edge. Next, file the left side using an up and down motion, keeping the file straight. Repeat on the right side.
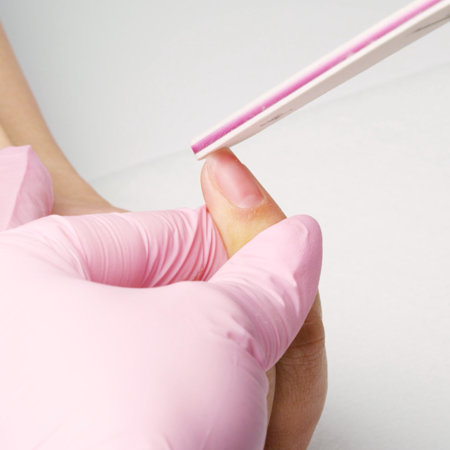
Double check the shape from the client's perspective by flipping the hand over and adjusting as needed.
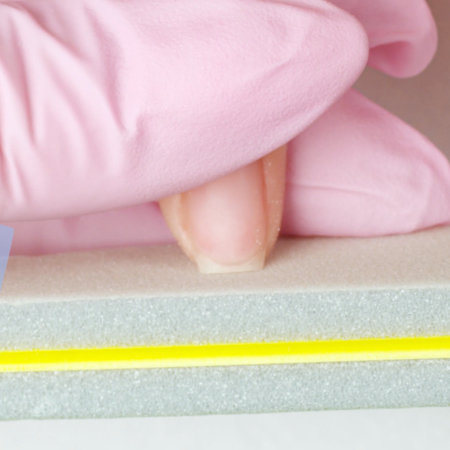
Use your 220/280 Flex Buffer to refine the shape and remove any fraying from the free edge and under the nail.
Squoval is a combination of square and oval and good for those who like a flat edge, but not sharp corners.
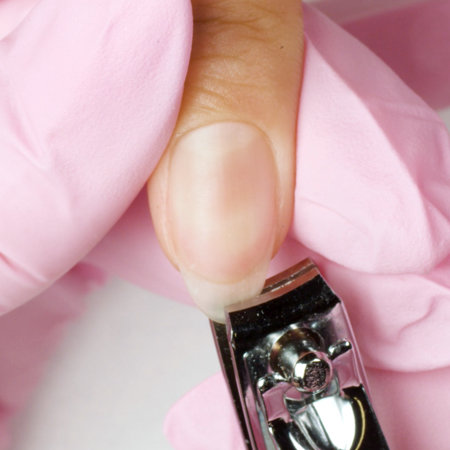
Trim nails to help establish the shape. Again, clip the sides first and the center if needed.
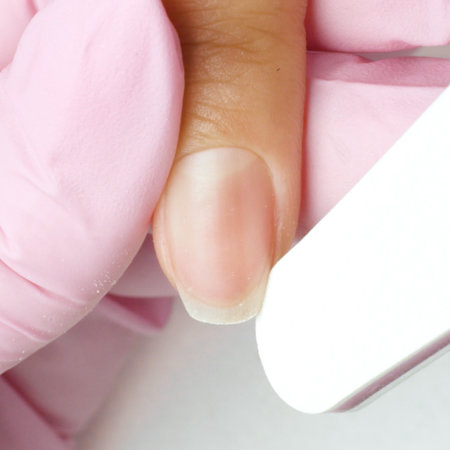
Get the shape by filing straight across, then rounding off the corners in one long stroke connecting the sidewalls and the free edge together.
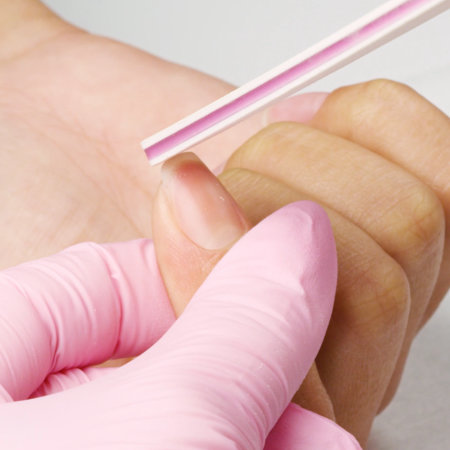
Flip the hand to check the shape and file as needed.
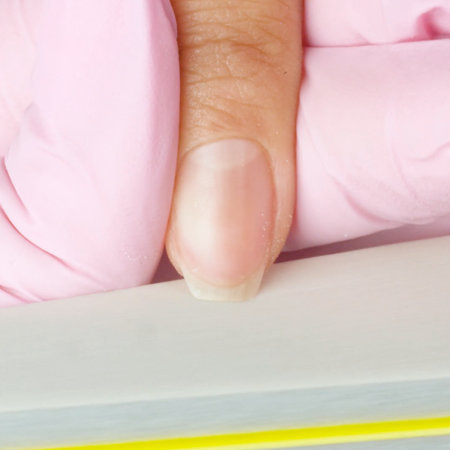
Use your 220/280 Flex Buffer to remove any sharp edges.
Round nails are easy to maintain and great for those who prefer a short length.

To shape, cut nails to the client's desired length while keeping the final shape in mind.
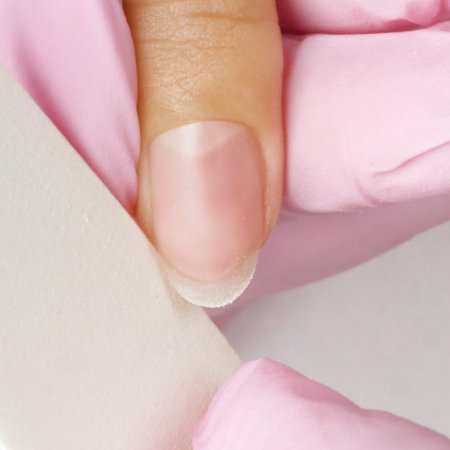
With your file, follow the natural curve of the fingertip until desired roundness is achieved.
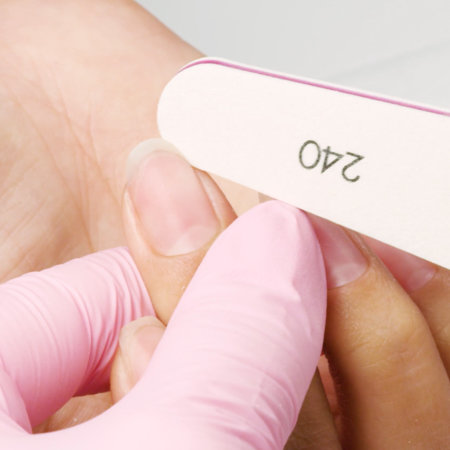
Flip the hand to make sure the roundness is symmetrical and check for fraying.
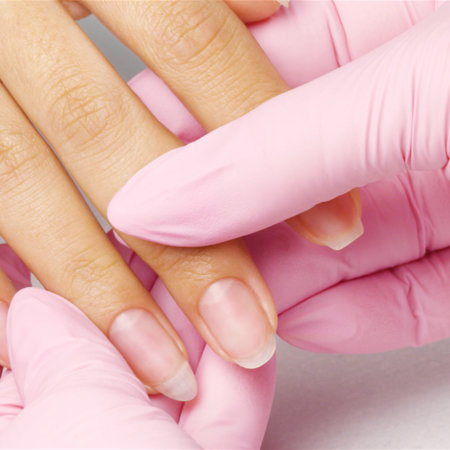
Use your 220/280 Flex Buffer to smooth the nail.
Oval nails elongate the finger by narrowing the sides and tips of the nail.
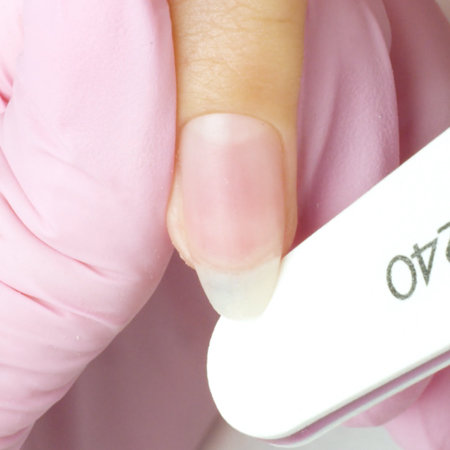
To achieve this look, file each side of the nail, slightly curving your file at the end towards the center of the nail to create an egg-like shape.
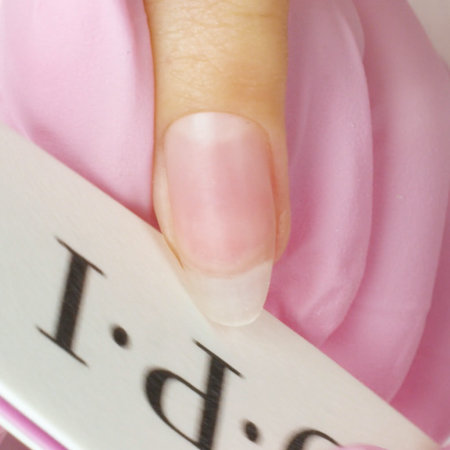
Whatever is done to one side of the nail needs to be done on the other side to keep the nail symmetrical.
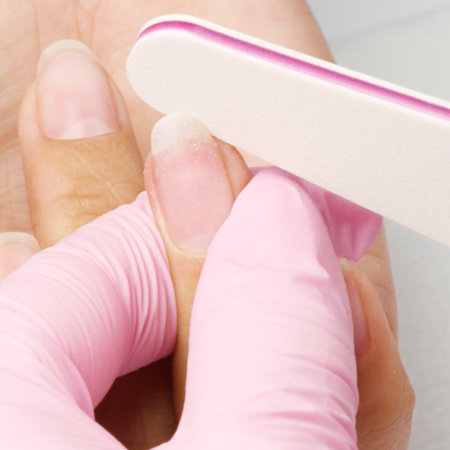
Similar to a round shape, flip the hand to make sure the shape is symmetrical.
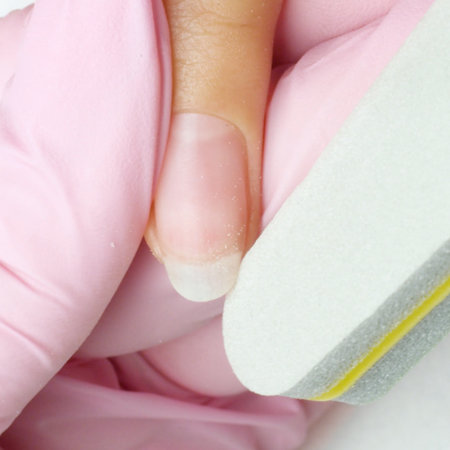
Again, use your 220/280 Flex Buffer to smooth the nail and remove any fraying under the free edge.
Almond tips are much like an oval shape, but much more pointed.
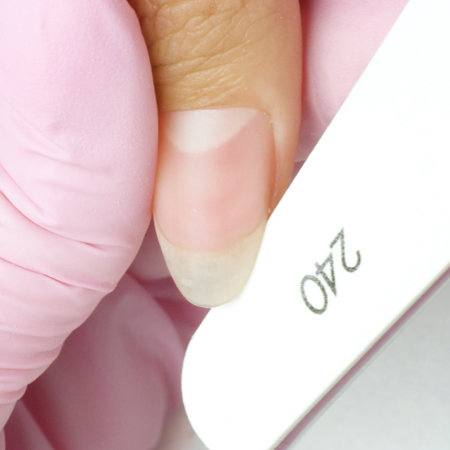
To create this look, find the center of the nail tip and shape both sides by filing into a slight taper towards the nail tip.
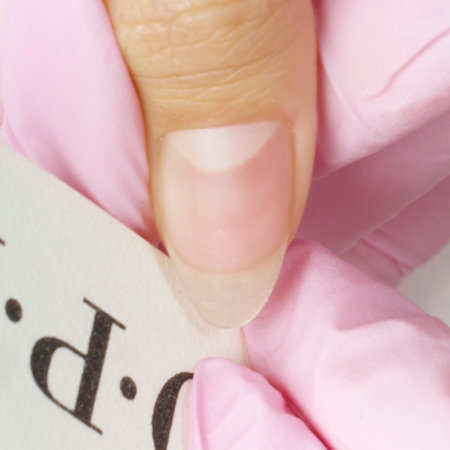
Following the sides you just filed, begin shaping the tip by narrowing the free edge to create a peak.
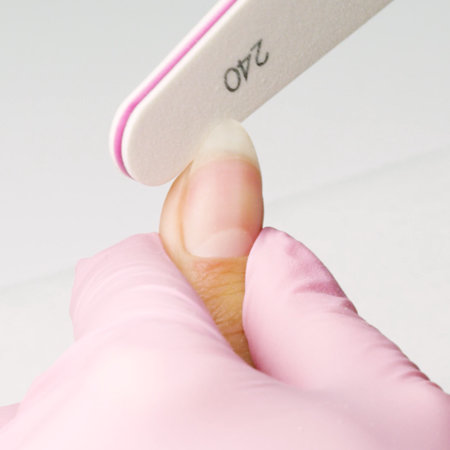
Flip the hand to check that the shape is centered.
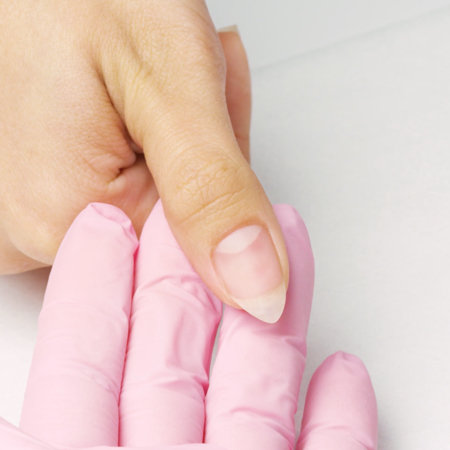
Then smooth it out with your 220/280 Flex Buffer.
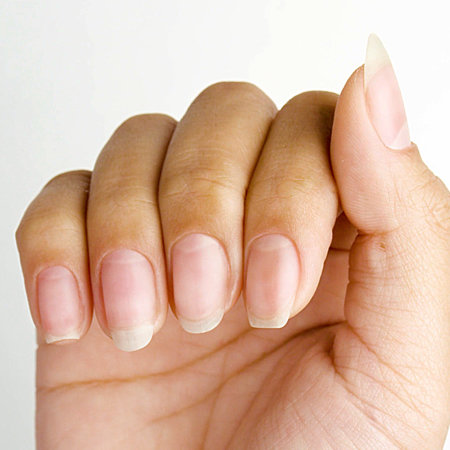
There you have it! Nail shapes that are both elegant yet functional.
