Powder Perfection French Application
- Step by Step Instructions
- Products & Tools Used

Always start with Powder Perfection Nail Prep.

Before application, scoop out enough Bubble Bath to cover the nail completely.

For Alpine Snow, scoop out much less since you'll only be using white for the tip. Gently shake the french tray to level the powder to ensure an even application.

Once nails are prepped, begin by brushing one coat of Base Coat on a single nail. Make sure to cover the entire surface evenly while leaving a tiny margin at the cuticle area.

Next, create a smile line by gently gliding the tip of the nail into Alpine Snow at a 45 degree angle. Don’t bring the nail straight up and instead bring the nail out the same way it went in.

Tap the nail to remove excess and immediately dip the entire nail in Bubble Bath. Once the powder is absorbed, tap off any excess powder and repeat steps 4 and 5 on the remaining nails one at a time.

Next, using a sanitized cosmetic brush, dust off any remaining loose powder focusing on the cuticle area, side walls, and under the free edge.

Apply a second coat of Base Coat, getting slightly closer to the cuticle this time, and repeat the previous steps on each nail one at a time.

Dust off any remaining powder again making sure to focus on the cuticle area, side walls, and under the free edge.

Brush on 1 thin and even coat of Base Coat, then dip the finger into Clear Color Set Powder at a 45 degree angle, let it absorb, and then tap off any excess powder. Brush away any leftover powder.

Next, apply one generous coat of Activator making sure the entire nail surface is covered. Then cap the free edge and allow it to harden for up to 2 minutes in the US, and 4 minutes if you’re International.

Once nails are hard, shape them and contour around the cuticle area and sidewalls using the 180 Grit File to prevent a bulky looking enhancement.
When filing, always make sure the enhancement is flush with the nail and that there are no bumps or ridges where the enhancement begins at the cuticle area. Do this for the sidewalls as well.

Now begin buffing the nails, using a heavier 220 Grit Buffer and working your way up. Don't forget the cuticle and sidewall areas! Continue smoothing the nails by using a finer buffer.

Remove any excess filing dust. Remember to pull back the skin back around the sidewalls as well as under the free edges to remove any hidden dust that could affect the final result.

Apply a heavy coat of Activator. It needs to be applied heavily because it is what gives that high shine. For those in the US, you need to wait up to 2 minutes and 4 minutes for International.

After waiting the correct amount of time for the Activator to absorb, apply Top Coat using 2-3 quick brush strokes.

Allow Top Coat to dry for 1-2 minutes, then apply a second coat, this time with precision as this is your final coat and you cannot go back and touch up the Top Coat once its applied. Allow Top Coat to dry for 1-2 minutes.

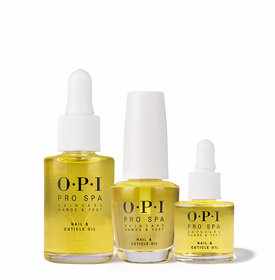
When nails are dry, complete your mani by massaging a drop of OPI ProSpa Nail and Cuticle Oil into the cuticles.