Powder Perfection Ombre Application
- Step by Step Instructions
- Products & Tools Used

Always start with Powder Perfection Nail Prep.

Before application, scoop out enough of each powder into a separate container to prevent cross contamination. Stir each powder to ensure pigments are fully blended.

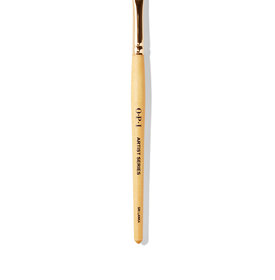
Gently fan out the Acrylic Brush so that it will pick up as much powder as possible.

You’ll want to begin your ombre look by brushing one coat of Base Coat. Make sure to cover the entire surface evenly while leaving a tiny margin at the cuticle area. This will prevent a bulky cuticle area.

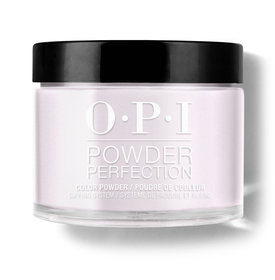
With your client’s finger angled downward, immediately use my acrylic brush and load it with I Am What I Amethyst and tap the powder onto the top half of the nail.

Then, before the Base dries, reload the brush with Bubble Bath and tap the powder onto the rest of the nail.
You want to work quickly because the Base Coat has a tendency to dry fast. This is why I will apply one finger at a time.

Once powder has had a few seconds to be absorbed by the Base Coat, tap excess powder from the finger. Then proceed onto the next finger, repeating the same steps.

Next, dust off any remaining powder with a sanitized cosmetic brush making sure to focus on the cuticle area, side walls, and under the free edge.

Now I’ll apply a second coat of Base Coat, getting slightly closer to the cuticle this line, and repeat the ombre technique on each nail.

Dust off any remaining powder again making sure to focus on the cuticle area, side walls, and under the free edge.

Once I’m done, I brush on 1 thin and even coat of Base Coat, then dip the finger into my Clear Color Set Powder at a 45 degree angle, let it absorb, and then tap off any excess powder.
Don’t worry if the nail looks really bulky at this point. Some systems out there either use the clear powder as a base or not at all which forces you to file into the product you just applied, compromising the color.

Next, apply one generous coat of Activator making sure the entire nail surface is covered. Then cap the free edge and allow it to harden for up to 2 minutes in the US, and 4 minutes if you’re International.

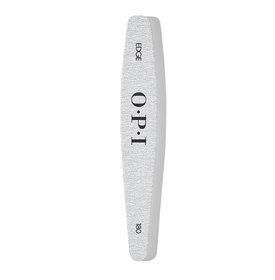
Once nails are hard, shape them and contour around the cuticle area and sidewalls using the 180 Grit File to prevent a bulky looking enhancement.

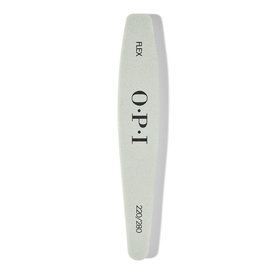
Now begin buffing the nails, using a heavier 220 Grit Buffer and working your way up. Don’t forget the cuticle and sidewall areas! Continue smoothing the nails by using finer buffer.

Remove any excess filing dust. Remember to pull back the skin back around the sidewalls as well as under the free edges to remove any hidden dust that could affect the final result.

Apply a heavy coat of Activator. Applying lightly will cause my Top Coat either to not cure or the finish will be matte. For those in the US, you should to wait 2 minutes and for International, 4 minutes.

After waiting the correct amount of time for the Activator to absorb, apply Top Coat using 2-3 quick brush strokes.

Allow Top Coat to dry for 1-2 minutes, then apply a second coat, this time with precision as this is your final coat and you cannot go back and touch up the Top Coat once its applied.

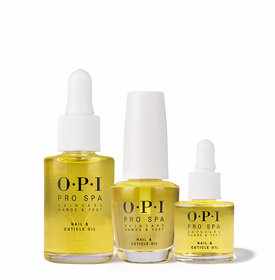
Once nails are dry, complete my clients ombre manicure with a few drops of OPI ProSpa Nail and Cuticle Oil.
